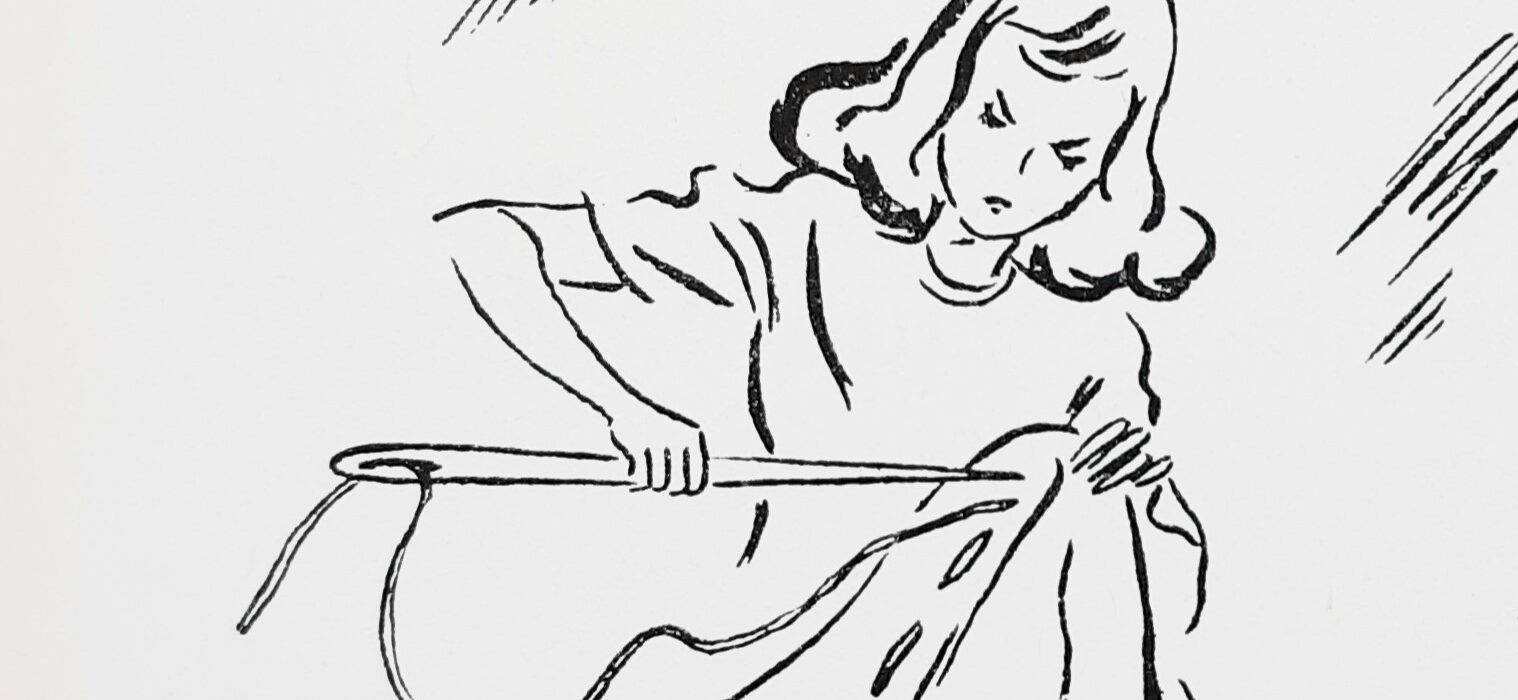
The following seam examples are commonly used in constructing vintage garments of various types and fabrics.
Plain Seam

The most basic of seams which is used in every type of garment. It is made by pinning and sewing together two pieces of fabric on the wrong side and pressing the seam open.
Overcast-Single Seam

The preferred seam finish for the majority of fabrics. Stitch your two fabric pieces together, press open and hand-overcast each edge to prevent raveling. Avoid deep or tight stitches.
Overcast-Double Seam

Use such a seam where a skirt joins a waist, also for armhole seams and for yoke seams where they are not pressed open. Stitch a plain seam and press it to one side; then hand-overcast both edges together. When it comes to a curved line, always clip the seam at intervals before overcasting to insure the seam will be perfectly flat when pressed.
Clean-Stitched Seam

Seam used by dress manufacturers. A particularly practical finish for finely woven, non-transparent fabrics. Stitch as for a plain seam; then turn each raw edge to the under side about 1/8-inch and machine stitch.
Bias-Bound Seam

Practical for material that frays easily; also for unlined jackets and coats. Sew as for a plain seam and press open. Use No. 5 bias binding (1/2-inch wide); sew one edge to the under seam, then close the binding and stitch again on top, close to the binding edge. You may also use a binding foot.
Notched or Pinked Seam

Seam suitable for tightly woven fabrics as well as woolens like broadcloth and flannel. Make a plain seam, notch the raw edges with pinking shears, then press open.
Lapped Seam

Used often in vintage sewing in joining two garment pieces together, especially when the pieces are curved or angled, such as shoulder yokes and skirt pieces. Machine sew a line of seam allowance on one edge (usually the pattern instructions will indicate which pieces are to be lapped), and press it down on that line to the wrong side. If this edge is curved or angular, clip at several places partway to the seam line, at right angles to the edge. Lay this down on the right side of the other piece, matching seam allowances, pin or baste in place, and top-stitch close to the folded edge on the right side of fabric.
French Seam

Favored for sheer, firm materials, such as batiste, lawn, and organdie. Make an 1/8-inch seam on the right side of fabric. Trim it close to the stitching line, press the seam from the wrong side, and make a second row of stitching from the wrong side, hiding the raw edges within.
Double Seam

Favored for sheer fabrics. Sew as for a plain seam, press to one side, then top stitch on the right side 1/4-inch from seam. Trim allowance close to second seam.
English Fell – sometimes called a “Reversible Seam”

Suitable for sturdy wash materials, such as shirting and suiting. Lap one piece of the material over the other, and baste together exactly on the seam line. Turn each raw edge in and stitch, making the right and wrong side the same.
Flat Fell Seam

Used in tailored blouses, as well as men’s and boys’ shirts and pajamas. Sew a plain seam on the right side of fabric. Press seam open and trim one edge to within 1/8-inch. Press the uncut edge flat over the trimmed one and fold it to the inside. Top stitch close to the fold line.
Double-Stitched Seam

Used on light-weight woolens and suitings. Sew a plain seam; then, from the right side of the garment, add a row of stitching along each side of the pressed-open seam. On curved seams, clip the seam before adding stitching, to make sure that the seam will lie perfectly flat.
Broad-Stitched Seam

Used where a decorative stitching line is desirable in firm materials, such as broadcloth, closely woven woolens and heavy silks. Sew as for a plain seam; then, from the right side of fabric, add two very straight and evenly spaced rows of stitching on each side of the pressed-open seam.
Strap Seam

Used on tailored garments, mainly to add a line of design. For the strap, make a true bias strip and overcast the raw edges together. Baste strap on the right side of garment over the plain, pressed-open seam. Stitch strap on each side, so as to catch in the edges of the seam underneath.
Welt Seam

Practical for firm fabrics. Stitch on the seam line. Trim one seam edge up close to the stitching; press from the right side so as to conceal the narrow edge with the wide one; then add a second row of stitching from the right side.
Double-Stitched Welt Seam

Used for tailored garments, especially children’s suits and for wool skirts that have several seams. Make the same as for a regular welt seam with the exception that you add two rows of straight, evenly spaced stitching from the right side of fabric.
Tucked or Open Welt Seam

Frequently used on gored skirts and jackets. Baste the seam, using short, even stitches. From the right side, press the seam edges together; then make a row of stitching an even distance from the basted line – 1/8 to 3/8-inch.
Slot Seam

A slot seam is a double lap seam which resembles an inverted box pleat; it is usually stitched to a separate piece of fabric, or it may be used to stich flat the top of an inverted pleat in a skirt or dress. Used in firm fabrics. Cut a lengthwise strip of material twice the width of the seams plus 1 inch. Mark the center of it with a basting line, a crease, or marking pen. Place a basted, pressed open garment seam line directly over the center line of the strip and add a row of stitching on each side of the seam, from right side of the garment.
Corded Seam

Used as a decorative seam. Cable cord in 1/16 to 1/8-inch sizes is preferred for garments. Cover the cord with a true bias strip of fabric. Use a cording or zipper foot to sew as close to the cord as possible. Cover as many yards as needed; then insert this in the seams, and stitch it in place, again using cording or zipper foot to hug the cord into position.
Piped Seam

Cording may be made of fine leather, ribbon or fabric in a harmonizing or contrasting color. Cut a true bias strip of material, press it in half, and place it in the fell seam; then top-sew the seam. Be careful to have the piping edge even throughout its length.
