Darts
Darts can be basted in until after the fitting, as they often need to be made deeper or smaller. Darts may be necessary, particularly in fitting a garment to the shoulders and over the bust.
In sewing darts, the secret of perfection is to have a straight seam and to end the dart perfectly at its point, so it does not pucker.

- Mark darts on the wrong side of fabric, using your preferred method. Tailors’ tacks were used in vintage sewing, but a modern seamstress has many more options, like water or heat soluble markers.
- After marking these perforations, connect the dots with a ruler and mark a triangle. Fold the dart in half, making sure both lines are even – when the dart is pinned in place, check to see if your pins come through directly underneath and match the other line.
- Sew the dart from the widest part to just beyond the shallow end point. Leave threads long enough to tie them into a knot – this ensures that your dart won’t come apart in wearing.
- In period sewing books, it is suggested that darts 1/2-inch or wider be slashed to within 2-inches of the end point and opened out flat.
- Overcast raw edges.
- Press flat.
Small darts are often used at the back of bodices – they radiate out from the neck and create a well-fitting collar line.
- They are marked, pinned and sewn in the same way large shoulder or bust darts are, except they do not get slashed, but are pressed down, usually toward the center.

Tucks
Tucks control fullness, sometimes in the back of a neckline, but most commonly in the front of a bodice at the shoulder line, above the bust.
They do not taper to a point like darts do, but are sewn on a straight line, turning into tiny pleats.

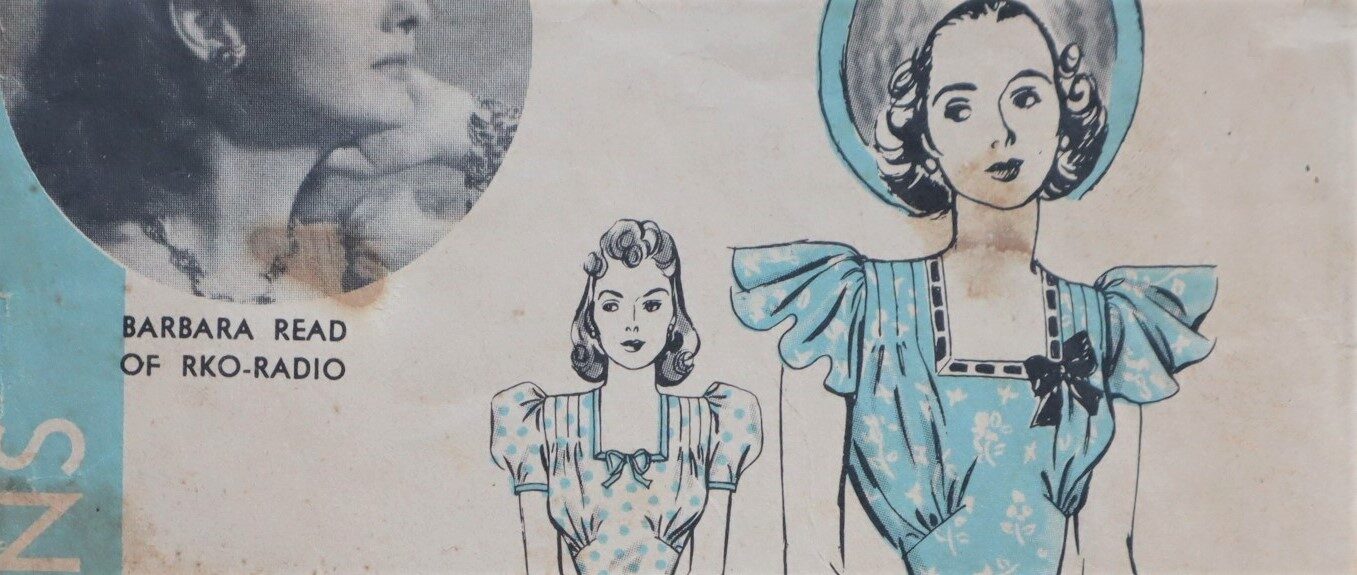
This is an example of a vintage Hollywood pattern (No. 446 – pictured above) giving instructions on sewing tucks.
- Mark perforations on wrong side of bodice and use a ruler to connect dots in a straight line.
- Bring these lines together as indicated by pattern directions and pin in place (making sure your pins on top come through to the back and match marked lines underneath).
- Sew from the top of bodice to end point, leaving threads long.
- Pull threads to one side and tie them in a knot, or use a needle to secure them.
- Press (usually away from center and toward the sides).
