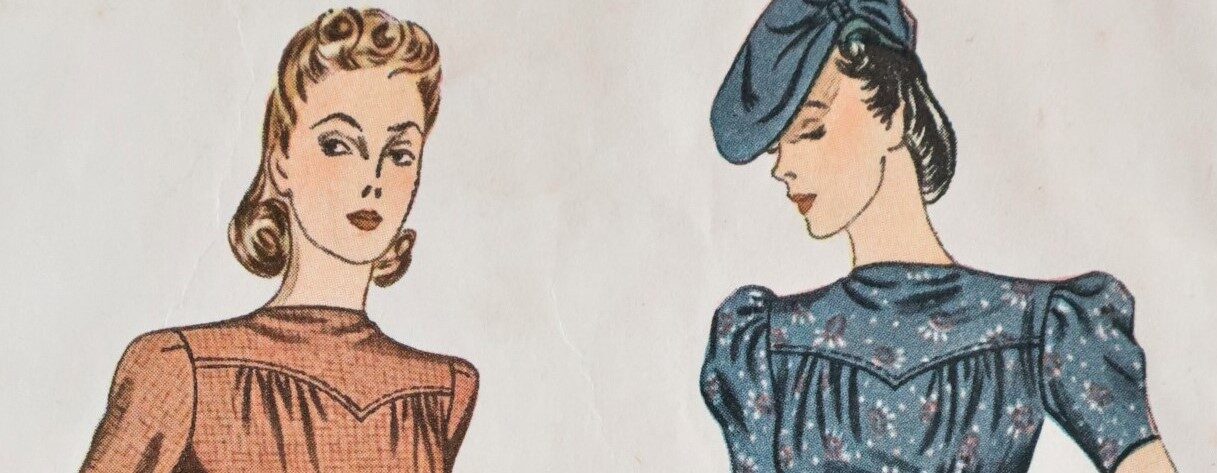
Whether you are working on a 1920’s Great Gatsby gown, a 1930’s Art Deco stylized blouse or a WWII era day dress, this lesson applies to the way garments were constructed in these early decades of the 20th Century. The following tutorial on neckline finishes comes from the Simplicity Sewing Book, dated 1943.
Straight Bound Slash

- a. Cut a straight strip 2″ wide and 1/2-inch longer than slash is to be. Baste on outside with centers matching. Stitch 1/4″ each side of center and across 1/2″ above lower end. Slash between stitching and to corners.
- b. Turn binding to inside forming a tiny pleat at bottom so it will lie flat. Turn edge and fell to machine stitching. Tack lower end.
- c. Finished straight bound slash.
Bias Bound Slash

- Stitch 1″ bias binding around slash on outside, stretching it at lower end. Turn under free edge and fell to stitching on inside.
Bias-Faced V-Neckline

- Stitch bias strip on outside, mitering at corner. Turn to inside and press gently.
- Turn under raw edges and slip-stitch invisibly to garment.
Continuous Shaped Facing

- Join seams of facing and press open.
- Mark line of opening on facing.
- Right sides together, baste facing on garment.
- Stitch around neck edge and around line of opening.
- Slash opening and overcast edges near point.
- Clip into seam allowance at corners. (a)
- Turn facing to inside. Turn under free edges and baste. Slip-stich to garment. (b)
Square Neckline

- Baste bias or straight facing on garment, right sides together.
- Shape corners of facing and stitch diagonally.
- Trim close to stitching and press open.
- Stitch around neck edge. (a)
- Turn facing to inside of garment.
- Turn under free edge of facing and slip-stitch invisibly to garment. (b)
Faced Collar

- Baste collar wrong side down to right side of neck edge of garment.
- Cut a matching bias strip 3/4″ longer than collar and about 1″ wide.
- Baste the bias strip, right side down and edge to edge with collar, and stitch along top edge of bias through all thicknesses.
- Trim seam allowance to ¼”.
- Press bias strip to inside of garment, hiding raw edges, turn in ends and bling hem stitch.
Detachable Collar

- Finish neck edge with bias facing and collar with bias fold tape.
- Baste or snap collar to neck edge.
- Sew snaps to collar first, then pin or baste collar to garment and mark position for matching halves of snaps.
Placket-Finish Neck Opening

Follow your pattern carefully in making this type of neck finish. Some details may vary in individual garments.
- a. Slash opening at lower corners, as shown. (The lower points of slashes should be only as far apart as the width of the finished placket, less about ¼”. Never slash more than indicated on pattern.)
- b. With right side of band against wrong side of garment, join right band to right opening edge. Turn in seam allowance on free edges, slashing as shown, and baste. Join left band to left edge of opening in like manner.
- c. Turn under free edge of left band and stitch in place on outside of garment. Baste lower end to position.
- d. Turn right band to outside of garment and baste in place. To-stitch as show, pivoting at corners. Stitch across point, through all thicknesses.
Convertible Neckline – Faced

- Turn and stitch outer edge of facing.
- Baste facing on garment, right sides together, and mark line of opening.
- Stich 1/8″ each side of line, graduating to a point at bottom.
- Cut between stitching. (a)
- Join shoulder seams of garment.
- Baste facing for neck-back on garment, right sides together; and with ends of bac facing extending over front facing, as shown.
- Stitch around neck edge.
- Clip into curved seam allowance at intervals.
- Turn facings to inside and press.
- Slip-stich facings to garment invisibly. (b)
Convertible Neckline With Collar

- Baste collar to neckline on outside. (a)
- Baste front facings around opening and over collar, as shown. (b) On top of these baste the bias facing for back of neck.
- Stitch around opening and around neck edge.
- Turn facings to inside.
- Turn under free edge of back facing and slip-stitch.
- Tack front facings to shoulder seams of garment.
Slide Fastener in Faced Opening


- Face both the opening on the garment and on the garment-facing with a strip of thin reinforcing material.
- Baste fastener to reinforce garment-facing, then apply garment-facing to garment. (On very firm fabrics, merely stitch around openings and turn in edges before applying fastener).


