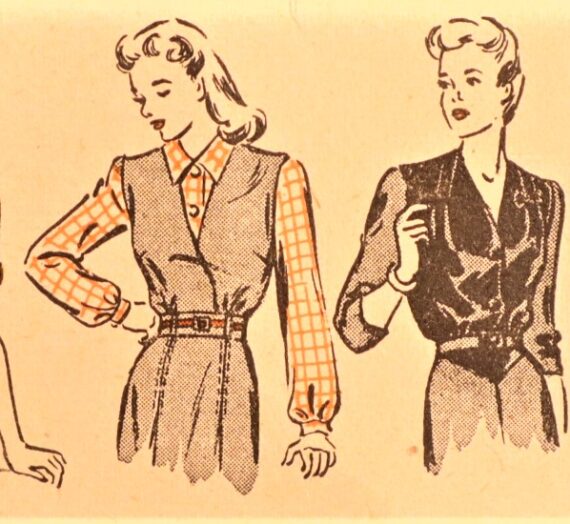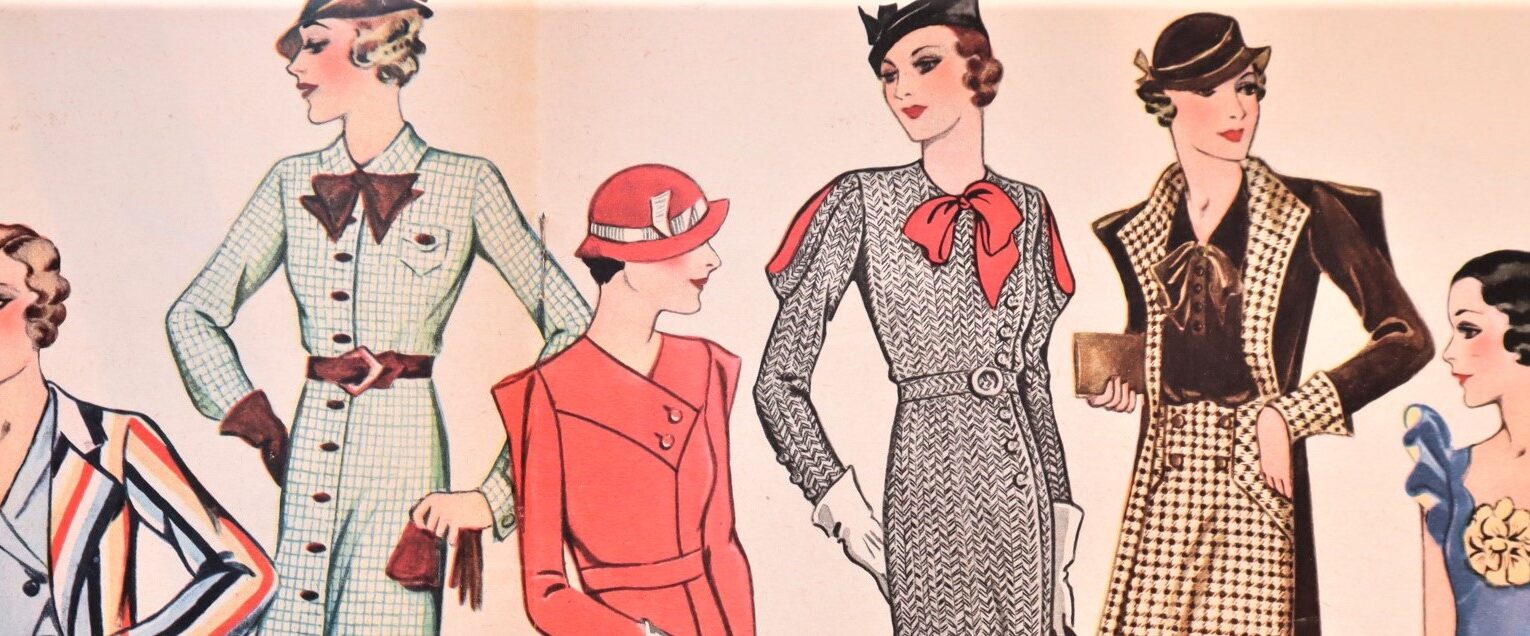
The early 20th century fashion saw an amazing array of sleeve styles. From the full puff or gathered sleeve which required copious amounts of fabric, to the dainty and romantic flutter sleeve of the 1930s, each garment was uniquely set apart by the choice of sleeve. This tutorial goes over a variety of vintage sleeve styles and how they are set into a dress bodice, blouse, shirt or coat.

a. Puffed b. Kimono c. Cape or Flutter d. Set-in sleeve with full cap e. Regulations set-in sleeve f. Raglan g. Drop Shoulder h. Saddle Shoulder i. Dolman

Ease at elbow of a one-piece sleeve may be accomplished in three different ways: by gathers, by darts, or by soft unstitched pleats. Be sure to match notches accurately as you pin and baste.

The two-piece sleeve is generally used for suits and coats. The slight ease at elbow should be shrunk out in pressing. The two sections allow opportunity for fitting the sleeve.
Puff or Gathered Sleeve

- Run three gathering threads at the top of the sleeve, gather to size of armhole.
- Distribute fulness evenly.
- Holding sleeve toward you, insert in armhole, matching notches, shoulders and underarms.
- Pin freely, baste and stitch along top gathering thread.
Kimono Sleeve

A kimono sleeve is not set in but is an extension of shoulder-line and underarm seam. The underarm seam is therefore curved. To keep the sleeve from puckering on the right side, clip the seam where it curves.
Underarm Gusset

Some kimono sleeves require an underarm gusset. Machine stitch around lines at underarm before you cut slash. Turn in edge just concealing stitching and stitch over outside of gusset.
Darted-Top sleeve or Set-In Sleeve with Full Cap

- Stitch darts at top of sleeve from edge to point; press toward center.
- Pin to armhole holding sleeve toward you; match notches and underarm seams, marks at top meeting shoulder.
- Baste, adjusting ease, and stitch.
Regulation Set-In Sleeve

- Turn finished sleeve to right side.
- Turn garment to wrong side.
- Set sleeve in armhole, matching notches.
- Place center notch at shoulder seam. Match underarm seams.
- Pin and stitch.
- Press top of sleeve over a tailor’s cushion, using a damp cloth.
Raglan Sleeve

The diagonal seams of a raglan sleeve may be joined to the blouse before the underarm seams on the blouse and sleeves are joined. Clip on seams at curve to relieve strain.
Drop Shoulder Armhole

The length of shoulder will be given in pattern.
- Turn under edges of armhole and pin carefully over top of sleeve, matching notches, shoulder seam at thread mark on sleeve.
- Baste and stitch close to edge.
Saddle or Epaulet Sleeve

- Stitch underarm seam of sleeve.
- Holding toward you, join to armhole, pin freely, baste and stitch to where epaulet starts.
- Clip corners, turn under edges on epaulet and stitch over blouse, matching notches.
Square Armhole

- Sleeve is darted at top.
- Holding sleeve toward you, pin into armhole starting at underarm and matching shoulders, underarm seams and notches; clip corners.
- Ease fullness. Baste, stitch, handling corners carefully.
Pointed Armhole

- The top of a sleeve made to fit into a pointed armhole has a dart-like seam.
- This should be pressed open before you join sleeve to armhole.
- Holding sleeve toward you, match notches and seams. Pin, baste, and stitch.
Shirt Sleeve

- A shirt sleeve is joined to shirt with a flat fell seam before seaming underarm.
- Match thread markings at shoulder and notches; pin, placing pins at right angles to seam, baste and stitch.
- Trim shirt edge of seam close, turn other over and crease, then stitch again for a flat fell. Stitch sleeve and side seams continuously, matching notches.
- Turn sleeve to right side and press.