In January of 1924, ladies’ publications were advising them to take advantage of the slow, dark and dreary months of winter to begin making garments for upcoming spring and summer.
One such publication stated that “when the first warm spring days come, every woman feels the call for something new to match the newness of the out-of-doors. Then it is that she turns with satisfaction to the new house dress and cover-all aprons made in January and February and stored away for this very purpose.” Inspiration – The Woman’s Institute of Domestic Arts & Sciences, 1924.
Since it is currently a dreary January in Pennsylvania and there is not much to do in the out-of-doors, I decided to follow this wise advice and try my hand at making a spring time frock of my very own.
For this project, I followed the directions in Mary Brooks Picken’s “Making a Dress in an Hour” booklet, which asserts that one could make an infinite variety of dresses using this particular method of cutting and sewing. “A smart, up-to-the-minute dress cut out, completely made, all ready to put on within an hour!”

I was excited to put this claim of a simple design to the test, but without a stop watch in my hand to hurry me up and stress me out. Instead, I set out to satisfy my own curiosity and see if I could, indeed, draft and sew my very own 1924 dress, using Mary Brooks Picken’s method and sew the way she did…just slower.
*I purchased the PDF copy of this booklet here Easy 1 Hour Art Deco Dress Pattern Create A Vintage Downton | Etsy

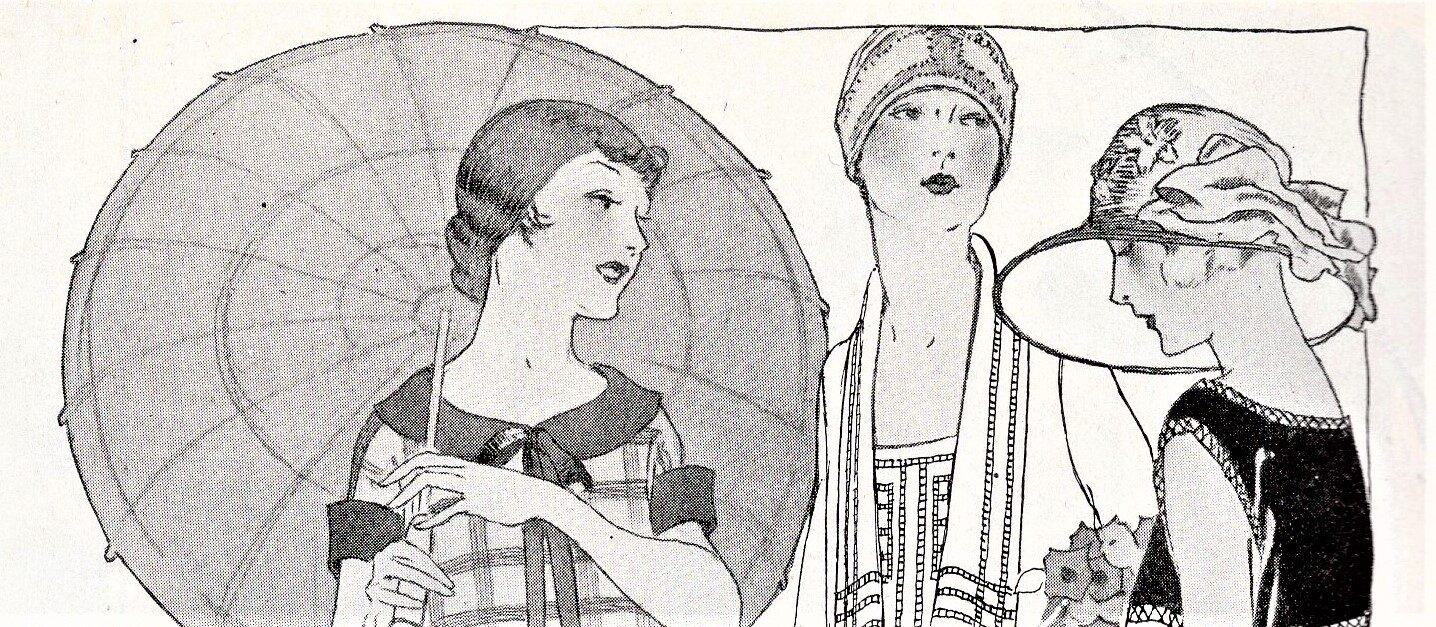
Since plaids and checks were very popular in the 1920’s, I chose this mustard brown and navy blue linen/rayon fabric for my project.

The neckline opening was measured, then marked with pins. I used a plate to draw the front curve.

Neckline was cut out.

In order to add interest to an otherwise plain front, I decided to play around with a placket. I cut a rectangle out of tracing cloth and rounded the bottom. Once I was satisfied with the shape, I cut it out of the navy blue linen, folded under the seam allowance and machine sewed it to the front.

As you can see, I used a whole bunch of pins to make sure this piece didn’t shift during sewing. Original sewing books would advise to baste this piece in place, but I took my chances with pins… living on the edge and such 🙂

Part of my creative process is to put my project on a dress form and play around with accents – in this instance, I wanted to see if adding off-white lace to this dress would brighten these dark colors. I also used a scrap of dress fabric to cover a button form. The contrast adds such visual interest to the front panel, that it’s time to cover more buttons!


A bias strip of contrasting fabric was machine sewn to the edge of the neck opening – right side of dress to right side of bias fabric with a 3/8-inch seam allowance.


I trimmed the seam allowance of the neck opening to about 1/8-inch, turned the bias fabric to the inside of the garment, folded it under itself, and hand stitched it for a clean, even finish.


I made the sleeve cuffs by cutting strips of fabric on the straight of grain and folding them in half lengthwise. The sleeve edges were then sandwiched between these strips of fabric and decorated with lace.

Inside view of cuff.

Outside view of cuff.

I turned the extra width of skirt fabric into inverted pleats at the sides.

This is the inside view of the inverted pleat where it meets the waistline and side seam.

I made the belt by cutting a long strip of fabric, folding it in half lengthwise, sewing it right sides together and turning it out to the right side. One end was folded into a triangle shape, the other into a square and top-stitched.

The belt fastens with hooks and eyes and snaps.

Part of what makes this design so beautifully simple are these kimono sleeves. They are cut in one piece with the bodice, which means that there aren’t any shoulder seams to join or separate sleeves to gather and set in.


I can only imagine how this system must have liberated the home seamstress from relying on store-bought patterns. By simply purchasing this little booklet and following its instructions, she could design and execute her own multitude of dresses, skirts and blouses!
By now you are probably wondering if this project could be finished in one hour, as the booklet claims, right?
My answer to this question is…I don’t know.
So how long DID it take me? A few days. Carefully matching up plaid lines took some time, but what slowed me down the most was my indecision:
- I pondered the length of the dress for far too long;
- Once I sewed the cuffs in place, I realized that the sleeves were too long, so I unpicked, trimmed, and re-sewed them;
- I kept going back and forth deciding between a decorative front placket and a possible collar. (Obviously the placket won.)
Overall, though, this was a great learning project and I definitely feel like I broadened my skills as a dressmaker. The directions and illustrations for measuring, cutting out and sewing the various pattern pieces were easy to follow. The assertion that one can make a multitude of dresses by following these directions is absolutely true! If you are looking for an early 1920’s sewing project which is fairly simple to construct, I recommend Mary Brooks Picken’s “One Hour Dress” design.
Have you made this project before? If so, how long did it take you?
How would you decorate your 1920’s dress?
Please share your thoughts, I would love to hear from you.


cam
Love the dress!! The embellishments are perfect
SewDecadesAgo
Thank you so much! This dress was such a joy to make. Thank you for taking the time to read my blog 🙂
Rebecca
I just found your Instagram account and then this blog. What treasures! You have a real eye for color and detail. I have a large vintage pattern collection and you’ve inspired me to get to the sewing room.
SewDecadesAgo
I am so happy that you found my Insta account and my blog. Thank you for your encouraging words and for letting me know that my sewing inspired you to get back to your sewing room! Enjoy your creative journey 🙂